How to Use Single Line Fields
Using Single Line Fields
Single Line Fields are one of TextExpander’s many Fill-ins that helps you customize and personalize your workflow. Upon expansion, the Single Line Field would allow you to either type out or paste plain text in a single-line text input field to be inserted into your Snippet.
One common use for this is for quickly customizing the recipient of an email! For example, your Snippet might look something like this –
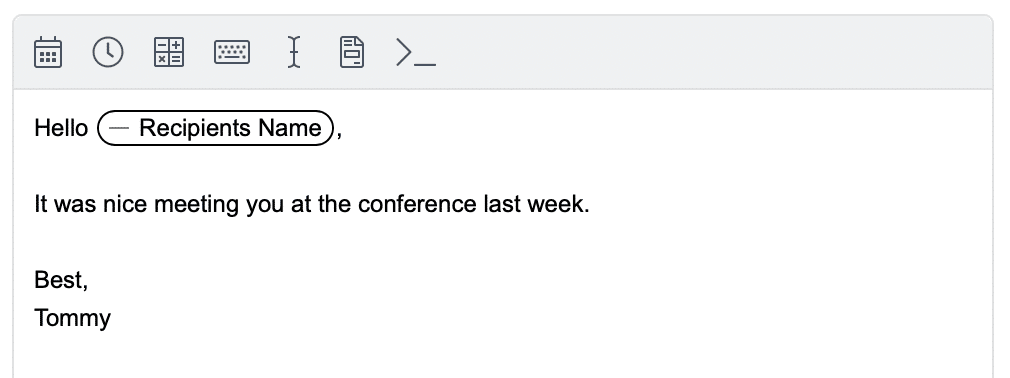
In the above example, “Recipient’s Name” is the Single Line Field. This means when we type our abbreviation, TextExpander allows us to enter the recipient’s name as shown here.
How to create a Single Line Field
To create a Single Line Field, follow the below steps –
- Open/create a Snippet
- In the Snippet Editing Bar, select the Fill-ins button as shown here
- Once you select the Fill-ins button, a drop-down menu will appear. From there, select “Single Line Field”
- Once selected, you will have the option to name the Fill-in, add a default value, and customize the maximum width of the Snippet (by the number of characters it can contain)
- Select “OK” and your Fill-in is now inserted into your Snippet!
Tips
- If you want the value within the Single Line Field to be repeated elsewhere in your Snippet (i.e. you want to type a name once and have it reflected elsewhere in your email), you can do so by ensuring that the Single Line Field Fill-ins all have the same name.
- Once you create a Fill-in, you can double click it in your content to make quick changes
- Fill-ins are copy/pastable! This means you can select a Fill-in, and press the “copy” hotkey ( ⌘ + C on MacOS, Ctrl + C on Windows), then press the “paste” hotkey ( ⌘ + V or Ctrl + C) to paste it elsewhere in the Snippet.